Image management is important. For food bloggers, high-quality images are crucial for attracting readers and creating a visually appealing site. However, managing these images efficiently can be a challenge. One solution is customizing your WordPress theme with a child theme and adding code to your functions.php file to streamline image handling.
Child Theme
A child theme is a theme that inherits the features of a parent theme while allowing you to make custom changes without risking the loss of those changes during updates. This is especially useful when implementing custom image management strategies, like optimizing image sizes, setting custom image dimensions, or adding new image formats.
The other reason to use a child theme is if you change one of the core theme files when the theme is updated, all those changes will be overwritten and lost. You can make a child theme yourself or get a plugin to do it. Unless you are well-versed in HTML, CSS, and PHP, using a plugin is much easier than creating one yourself. I prefer to use the Catch Child Theme plugin, make the theme, and then delete the plugin.
Functions.php
The functions.php file is a vital part of any WordPress theme. It acts as a bridge to modify or enhance the behavior of your site without having to install complex plugins. If your site suffers from slow load time, consider going through your plugins and replacing some with code in the functions.php file.
There is code to handle a variety of functions, such as adding alt text, adding Google GA4 code, displaying last-modified and word count in the Admin section, and even generating a QR code for the current page. For food bloggers, who use a lot of images, automatic alt, captioning, and descriptive text is a big time saver instead of manually doing so or using a bulky plugin.
Instead of editing the functions.php file, you can use a plugin like WpCode. If you still aren’t comfortable doing this, Arbpen Consulting would be happy to do it for you.
Image Management
Installing the Snippet
This snippet is not mine, but I use it on all my sites and my client’s sites. It tells WordPress to use the file name to add the alt text, caption, and description when an image is uploaded to the Media Library.
// This nice little bit of code will use the image's name for its ALT attribute
// found at https://brutalbusiness.com/automatically-set-the-wordpress-image-title-alt-text-other-meta/
add_action( 'add_attachment', 'my_set_image_meta_upon_image_upload' );
function my_set_image_meta_upon_image_upload( $post_ID ) {

	// Check if uploaded file is an image, else do nothing

	if ( wp_attachment_is_image( $post_ID ) ) {

		$my_image_title = get_post( $post_ID )->post_title;

		// Sanitize the title:  remove hyphens, underscores & extra spaces:
		$my_image_title = preg_replace( '%\s*[-_\s]+\s*%', ' ',  $my_image_title );

		// Sanitize the title:  capitalize first letter of every word (other letters lower case):
		$my_image_title = ucwords( strtolower( $my_image_title ) );

		// Create an array with the image meta (Title, Caption, Description) to be updated
		// Note:  comment out the Excerpt/Caption or Content/Description lines if not needed
		$my_image_meta = array(
			'ID'		=> $post_ID,			// Specify the image (ID) to be updated
			'post_title'	=> $my_image_title,		// Set image Title to sanitized title
			'post_excerpt'	=> $my_image_title,		// Set image Caption (Excerpt) to sanitized title
			'post_content'	=> $my_image_title,		// Set image Description (Content) to sanitized title
		);

		// Set the image Alt-Text
		update_post_meta( $post_ID, '_wp_attachment_image_alt', $my_image_title );

		// Set the image meta (e.g. Title, Excerpt, Content)
		wp_update_post( $my_image_meta );

	}
}
Using the Code
- Open Notepad on your computer. Don’t try to use Word or another word processor. The code you copied must be EXACTLY as it is above, without the coloring.
- Create a backup of your site before you start. I recommend Updraft Plus.
- Make sure you are using a child theme. To do so:
- Go to Appearances
- Themes
- Select your child theme
- Go to Appearances -> Theme File Editor -> functions.php
- Paste the code you copied into the functions.php file
- Click on Update File. If you did everything correctly, it will say “File edited successfully.”
Renaming Files with Descriptive Names
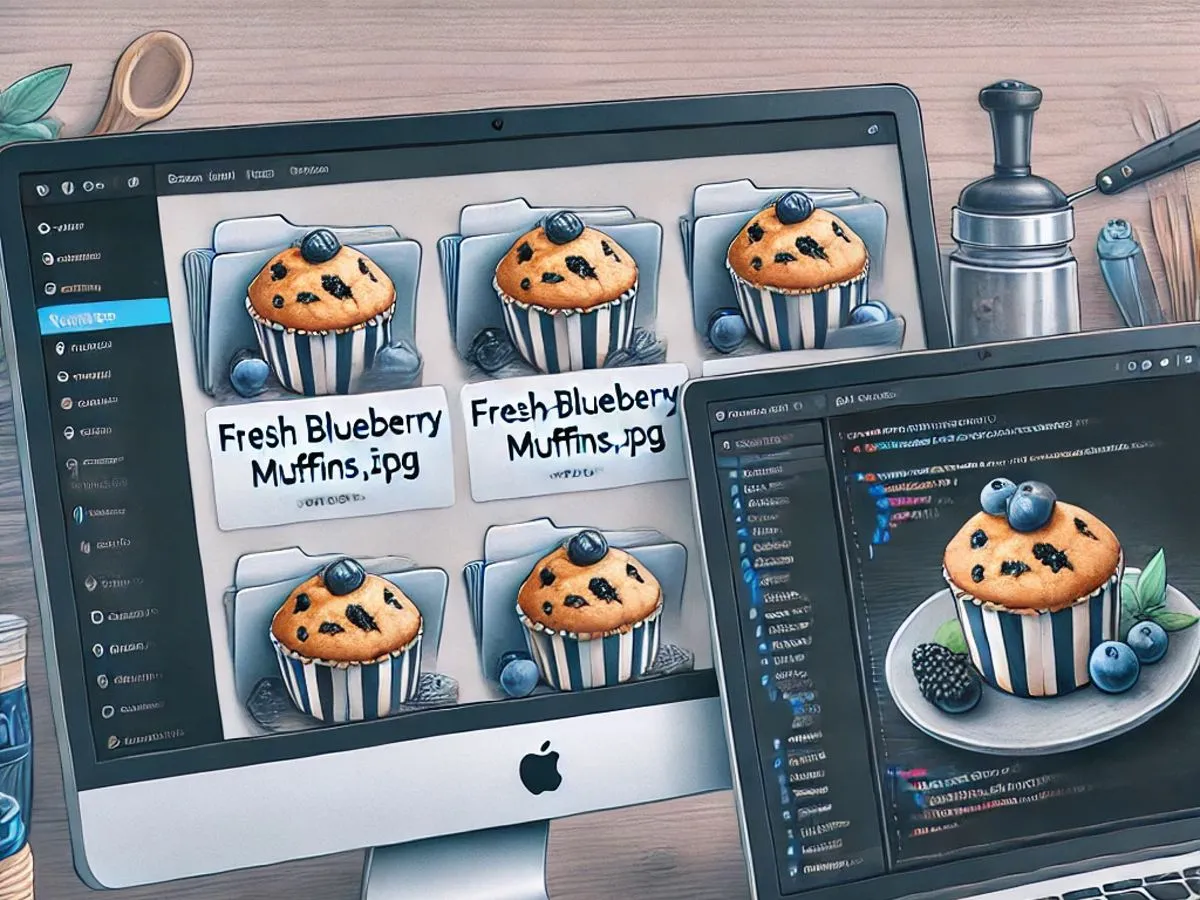
The first step in efficient image management is renaming image files to reflect their content. Instead of generic names like “IMG_1234.jpg,” consider renaming the file to “fresh-blueberry-muffins.jpg.” This not only helps you find images easily but also improves your SEO by providing search engines with relevant context. Search engines like Google prioritize descriptive file names, making your food blog more likely to appear in image search results.
Organizing Image Files
Keeping your computer neat and tidy makes things easier for both you and the computer. WordPress defaults to folders by month and year. For images that I’m going to use for The Good Plate, I have a folder for each year and month just as WordPress does. If you are scheduling multiple posts across months, having your images in the month when you plan to post them makes things a lot easier.
You are Set for Success
Image management for food bloggers doesn’t have to be a daunting task. By creating a child theme and making some simple adjustments in the functions.php file, you can take full control of your image presentation and optimize your site for success.
Thank you for visiting. I hope this post was helpful.


